





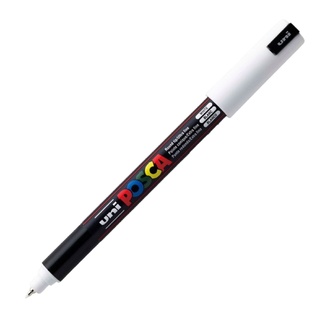
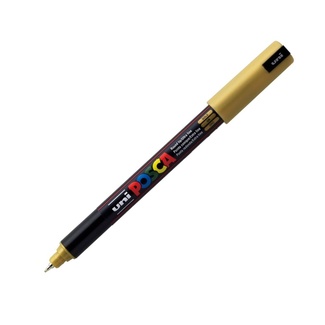
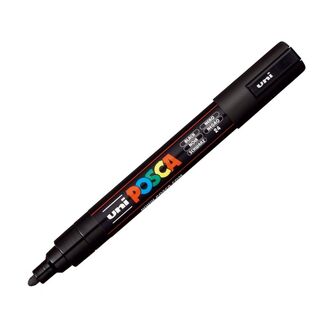
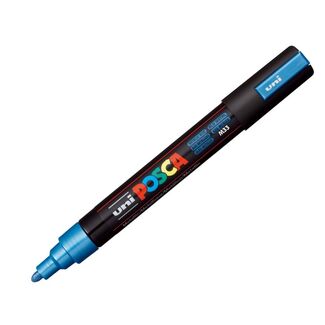
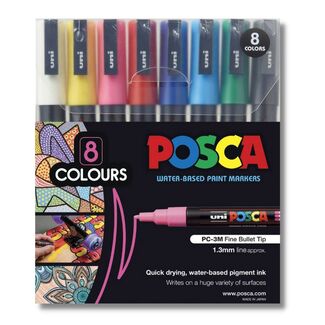
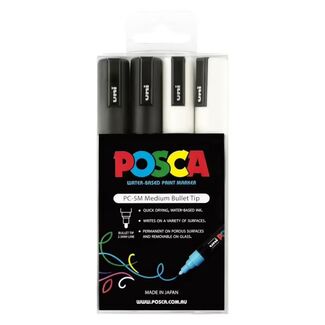
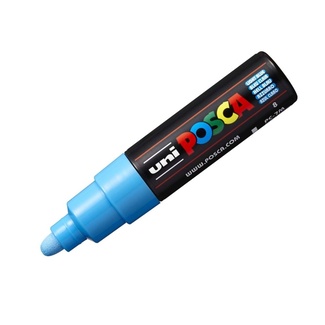
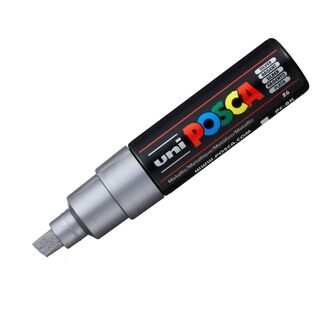
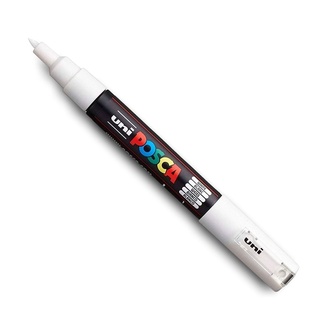
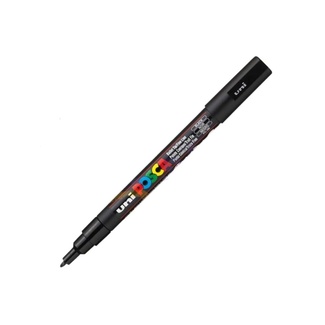
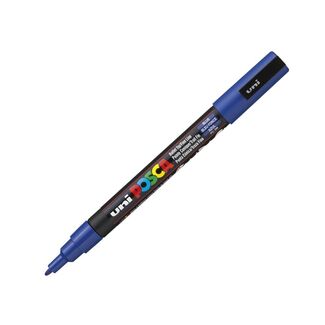
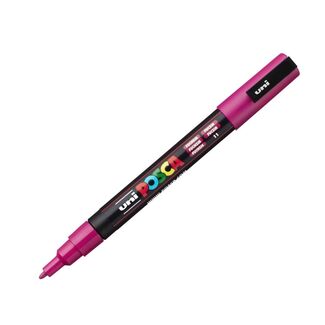
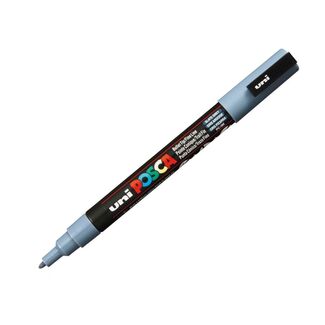
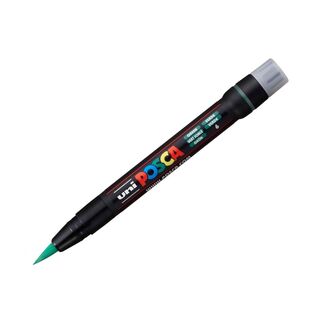
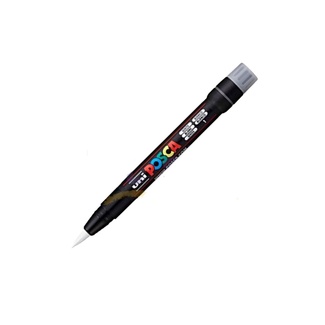
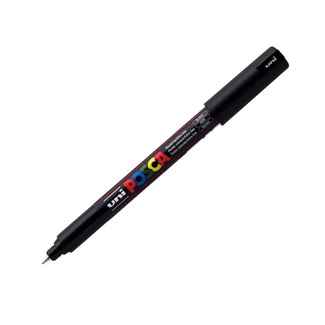
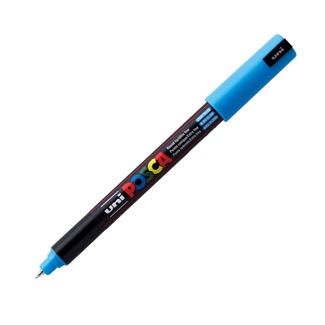
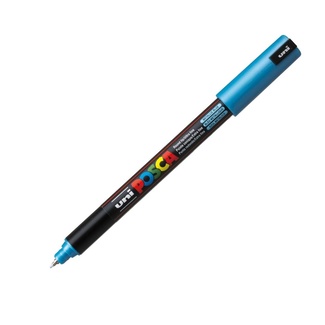
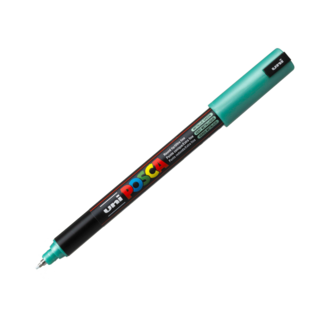
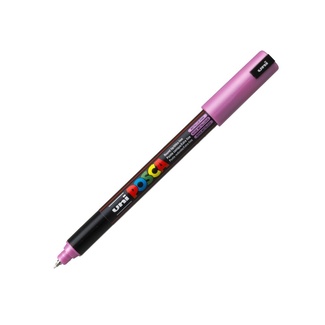
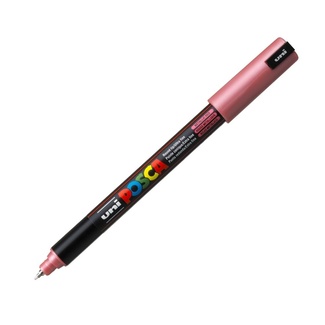
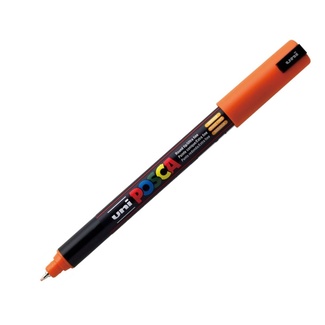
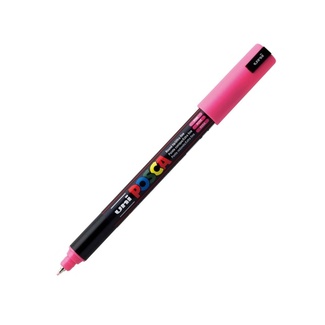
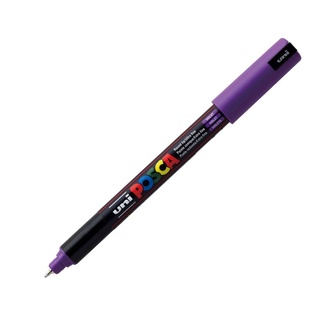
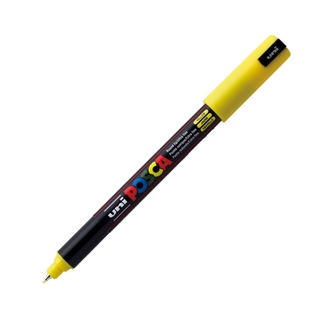
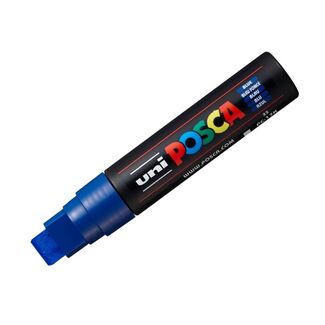
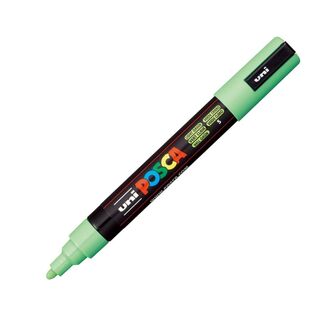
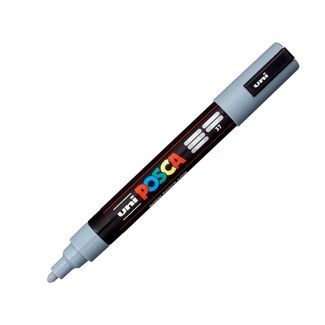
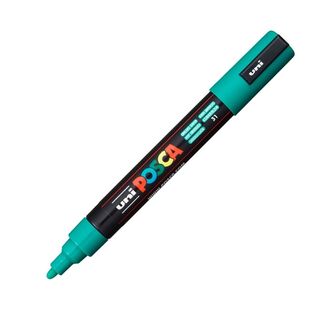
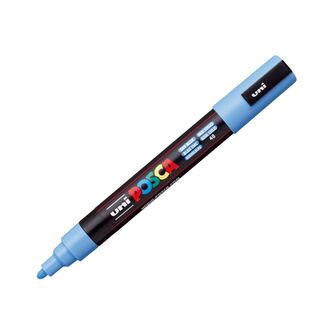
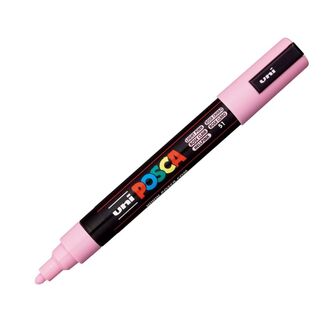
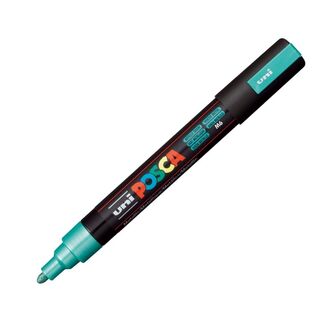
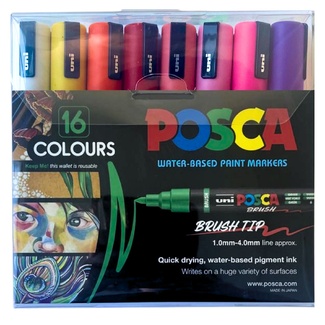
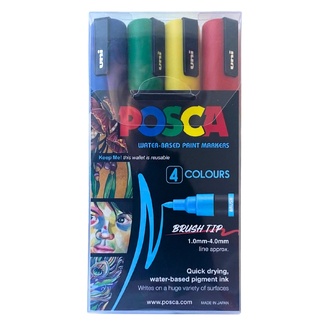
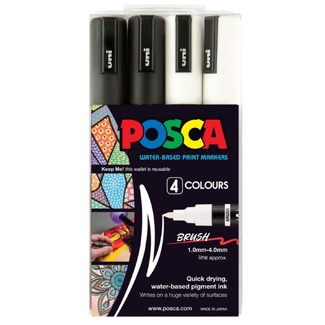
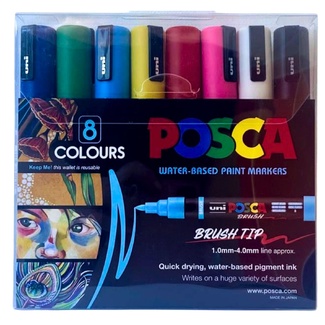
Uni Posca markers combine bright, opaque, water-based paint with the control of a marker, making them an easy way to add colour, detail and bold coverage across paper, canvas, wood, stone, glass, fabric, metal, plastic, ceramics and more.
They can be mixed while wet, layered once dry and fixed in different ways depending on the surface, making them just as useful for sketchbooks and illustration as they are for painted rocks, windows, custom clothing and mixed-media projects.
At Art Shed, you’ll find individual Posca markers and sets across a range of colours and nib sizes, along with everything you need to get more from them. Below, you’ll find practical advice for priming your markers, preparing different surfaces, blending and layering colour, sealing finished projects and looking after worn or dried nibs.
Still deciding which marker you need? Our Posca brand and nib guide breaks down the different Posca sizes, tips and what each one is best suited to.
How to Start a Posca Marker
Before using a new Posca marker, the paint needs to travel through the barrel and into the nib.
How to Shake a Posca Marker
With the cap firmly on, shake the marker up and down. You'll hear the mixing ball moving inside the barrel as it mixes the paint.
How to Prime a Posca Marker
Take the cap off and press the tip down several times on a piece of scrap paper.
You don't need to pump it furiously. Give the paint a moment to travel into the nib and stop once the tip is evenly saturated.
Test Your Posca Marker Before You Start
Draw a few lines on the scrap paper before moving onto your final project.
This checks that the paint is flowing evenly and is particularly handy when you're working on an important or difficult-to-replace surface.
If the flow starts to slow down later, pop the cap back on, shake the marker again and re-prime it on your scrap paper.
Art Shed Staff Tip: Keep that scrap sheet beside you while you're working. It's handy for re-priming, checking colours and cleaning up a tip before it touches your artwork.
How to Use Posca Markers on Different Surfaces
One of the biggest advantages of Posca markers is just how many different surfaces you can use them on.
The important bit is that Posca behaves differently depending on the surface.
As a general rule, porous materials absorb the paint and tend to hold it permanently once dry. Smooth, non-porous surfaces usually keep more of the paint sitting on top, which means the artwork may remain removable unless it is fixed or protected.
How to Use Posca Markers on Paper, Cardboard and Canvas
These are some of the easiest surfaces to start with.
Make sure the surface is clean and dry, then work as you normally would. Posca's opaque paint is particularly useful on coloured and dark papers because lighter colours can be layered over darker backgrounds.
If you're working in a sketchbook, test the paper first if you're worried about how it will react to moisture.
How to Use Posca Markers on Wood, Rocks and Other Porous Surfaces
Brush away dust and make sure your surface is clean and dry before you begin.
Raw wood, stone and other porous materials can absorb more paint than smooth surfaces, so you may need another layer to achieve completely even coverage.
For artwork that will be handled regularly or displayed outdoors, protecting the finished design with a suitable water-based varnish can help it last longer.
How to Use Posca Markers on Glass, Metal and Non-Porous Surfaces
Start with a clean, dry surface free from grease and fingerprints.
On smooth surfaces, Posca can be ideal for temporary artwork such as window displays because the design remains removable in many applications.
If you want your finished design to last, it will generally need to be fixed with a suitable water-based spray varnish.
Always test an inconspicuous area first when you're working with an unfamiliar material.
How to Use Posca Markers on Fabric and Textiles
For new fabric, wash it before you begin to remove coatings that may interfere with the paint.
Place a piece of paper or another absorbent barrier underneath the fabric while you're working, particularly with thinner textiles.
Once your design is completely dry, it can be fixed by ironing from the reverse side without steam, using a temperature suitable for the fabric. For materials that cannot be ironed, Posca also recommends using a hair dryer at a safe distance.
To help preserve your design, wash the finished item inside out at a low temperature.
How to Use Posca Markers on Ceramics
How Posca behaves on ceramics depends on whether the surface is glazed or porous.
Untreated, porous ceramics will hold the paint differently from smooth glazed porcelain or ceramic, so check the material before choosing your finishing method.
If you're decorating ceramics, treat the finished piece as decorative rather than assuming the decorated area remains suitable for food contact.
How to Layer and Blend Posca Markers
Posca gives you two quite different effects depending on whether the paint underneath is wet or dry.
How to Blend Posca Markers While Wet
While the paint is still wet, colours can be mixed together directly on the surface.
Try working the edge where two colours meet with the Posca tip itself or a slightly damp brush. This is useful for softer transitions and gradients.
If another colour transfers onto your nib while you're blending, clean the tip and re-prime it on scrap paper before continuing.
How to Layer Posca Markers Once Dry
If you want crisp shapes rather than blended colour, let the first layer dry before adding the next.
Because Posca paint is opaque, you can layer dark colours over light ones and light colours over dark ones, which is brilliant for adding highlights, outlines, patterns and little details at the end of an artwork.
For larger areas, build your coverage in lighter overlapping passes rather than pushing harder on the nib.
Common Posca Marker Mistakes to Avoid
Shaking the marker with the cap off.
Always put the cap back on before shaking unless you fancy giving your desk an unexpected makeover.
Over-priming the nib.
You only need to press until the tip is saturated. Continually pumping it after the paint is flowing can give you much more paint than you wanted.
Skipping surface preparation.
Dust, grease and fingerprints can interfere with adhesion, particularly on glass, metal and plastic.
Working over a layer before it's dry.
If you want clean layering, give the first colour time to dry before drawing over it.
Assuming Posca is permanent on every surface.
It isn't. Porosity makes a big difference, and smooth surfaces may need to be fixed or sealed if you want the artwork to stay put.
Using the same finishing method for everything.
Fabric, glass, wood and ceramics all have different needs. Check the surface before reaching automatically for varnish or heat.
How to Store Posca Markers
The most important thing is simple: put the cap back on firmly after use.
Standard Posca markers can be stored in different positions because the mixing ball allows the paint to be remixed before use.
Brush-tip Posca markers are the exception and are best stored horizontally.
Keep them somewhere sensible away from unnecessary heat, and give them another shake and prime if they haven't been used for a while.
How to Clean a Dried Posca Nib
A dry nib doesn't automatically mean your marker is finished.
Many Posca tips can be removed and cleaned with water.
If your nib has dried out:
- Carefully remove the tip.
- Rinse it with water or soak it if it is particularly dry.
- Allow it to dry.
- Reinsert the nib.
- Shake the marker with the cap on.
- Re-prime it on scrap paper until the paint flows normally again.
You can also clean a nib if it becomes stained with another Posca colour while you're mixing or blending.
How to Replace a Worn Posca Nib
Textured materials like stone and raw wood can be tough on marker tips. Sometimes the paint inside the marker is perfectly fine but the nib itself has simply reached the end of its life.
Many Posca nibs are removable, washable and replaceable.
According to Posca's current care guidance, PC-3M and PC-5M nibs are reversible, so if the working end becomes worn you may be able to remove the nib, turn it around and use the other side.
Replacement tips are also available for several Posca models.
To replace a nib:
- Carefully pull the worn nib from the marker.
- Insert the clean replacement tip.
- Replace the cap and shake the marker.
- Prime the new nib on scrap paper.
- Wait until the paint has evenly saturated the tip before returning to your artwork.
If your nib is only dry or dirty rather than physically worn, try cleaning it first. You may not need to replace it at all.
Not sure which Posca model you have? Our Posca nib and marker guide breaks down the different sizes and what each one is designed to do.
Frequently Asked Questions About Using Posca Markers
Why is my new Posca marker not working?
A new Posca needs to be shaken and primed before use. Shake it with the cap firmly attached, then press the nib several times on scrap paper until paint begins to saturate the tip.
Why is my Posca marker flooding?
Too much paint can reach the nib if it is repeatedly pumped after it has already been primed. Prime gradually on scrap paper and stop once the tip is evenly saturated.
Can you blend Posca markers?
Yes. Posca colours can be mixed and blended while the paint is still wet. Once the paint has dried, new colours can be layered over the top instead.
Do Posca markers need to be sealed?
It depends on your surface and how the finished project will be used. Posca is generally permanent on porous materials, while smooth non-porous surfaces may remain removable unless fixed. Projects exposed to handling, weather or washing may also benefit from the appropriate finishing method.
How do you make Posca permanent on fabric?
Allow the design to dry completely, then iron the fabric from the reverse side without steam using a temperature appropriate for the material. Wash the finished item inside out at a low temperature to help protect the design.
Can you revive a dried Posca nib?
Often, yes. Many Posca tips can be removed, cleaned or soaked in water, allowed to dry and then reinserted and re-primed.
How should Posca markers be stored?
Standard Posca markers can be stored in different positions as long as the cap is firmly replaced. Brush-tip Posca markers are best stored horizontally.
Can Posca nibs be replaced?
Many Posca nibs are replaceable, and some can also be cleaned or reversed before you need a new tip. Check your marker model before buying a replacement.
Shop Uni Posca markers at Art Shed for individual colours, sets and different tip styles, or visit our Posca brand guide if you need help choosing the right marker for your project.