


A Beginners Guide to Oil Painting
Oil paints have been the medium of choice for many artists for hundreds of years.
While the medium may seem intimidating to many starting out, with various chemicals and rules that need to be factored into consideration, oil painting is actually a very relaxing and enjoyable art practice that can lead to stunning results.
The slow-drying nature of oils allows for a wide variety of painting techniques to be used and offers more leeway to amend any mistakes you might make while painting.
Keep reading to discover why oils remain a favourite for many phenomenal artists, what you’ll need to get started with the medium, and our top tips and tricks for creating your very own masterpiece.
History
The practice of oil painting dates all the way back to the 14th century when olive oil was first used as a binding agent with pigments in Italy, and parrilla oil was used in Japan.
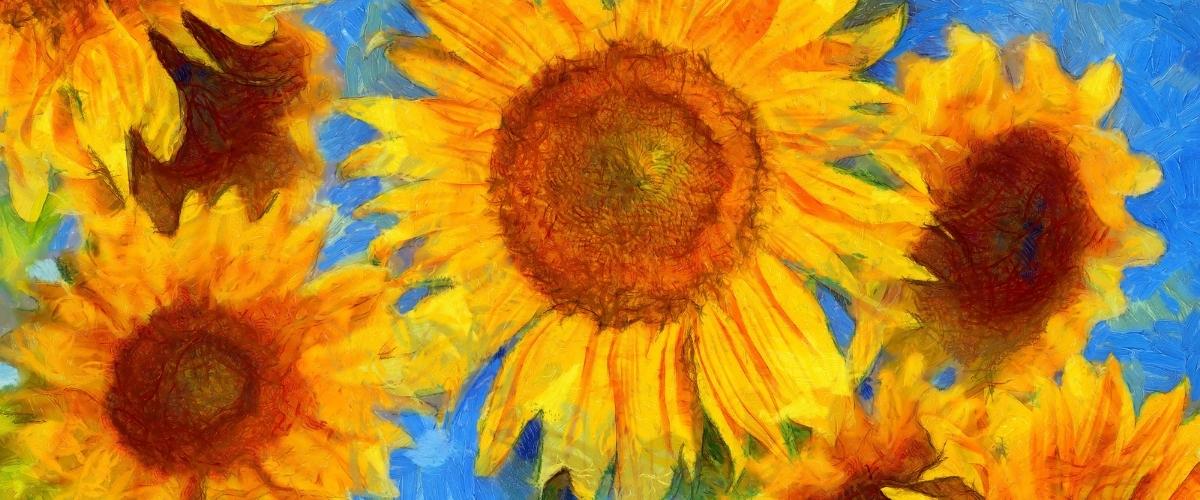
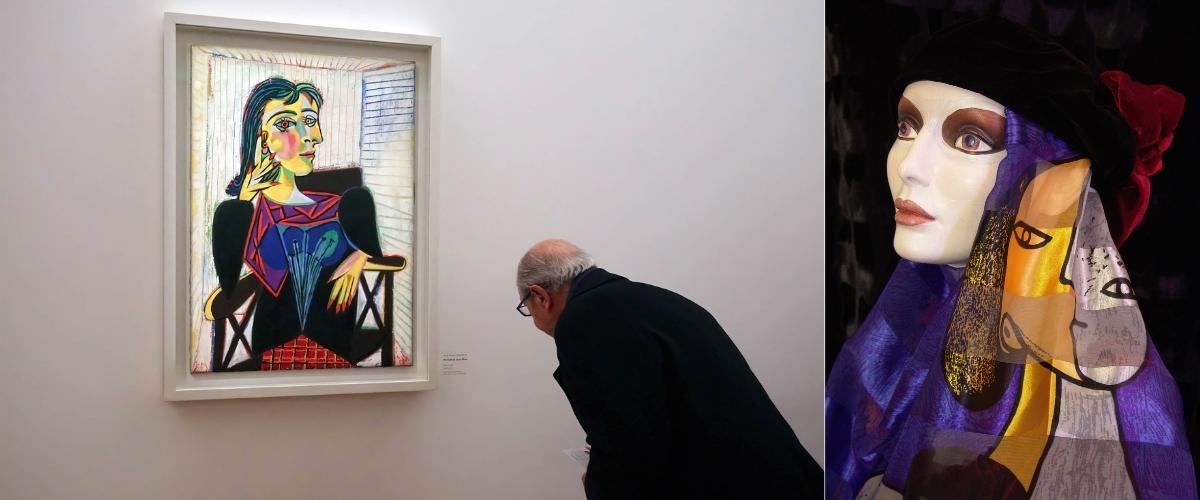
It wasn’t until 1440 that Flemish artist Jan van Eyck discovered the use of Linseed Oil in painting, which was soon adopted by other European artists (such as Leonardo da Vinci). Many major iconic artworks have been created with oil, including the Mona Lisa by Leonardo da Vinci, Starry Night by Vincent Van Gogh, Girl with a Pearl Earring by Johannes Vermeer, The Persistence of Memory by Salvador Dali, American Gothic by Grant Wood, Impression, Sunrise by Claude Monet, Whistlers Mother by James McNeil Whistler, The Kiss by Gustav Klimt, and Guernica by Pablo Picasso, to name a few.
Nowadays, oil paints are comprised of a pigment suspended in oil, typically linseed oil.
They are still an incredibly popular medium, and for good reason.
Oil paints are fantastic for blending and creating smooth transitions between shades, with a beautiful and rich quality distinguishable from most other painting mediums.
.jpg)
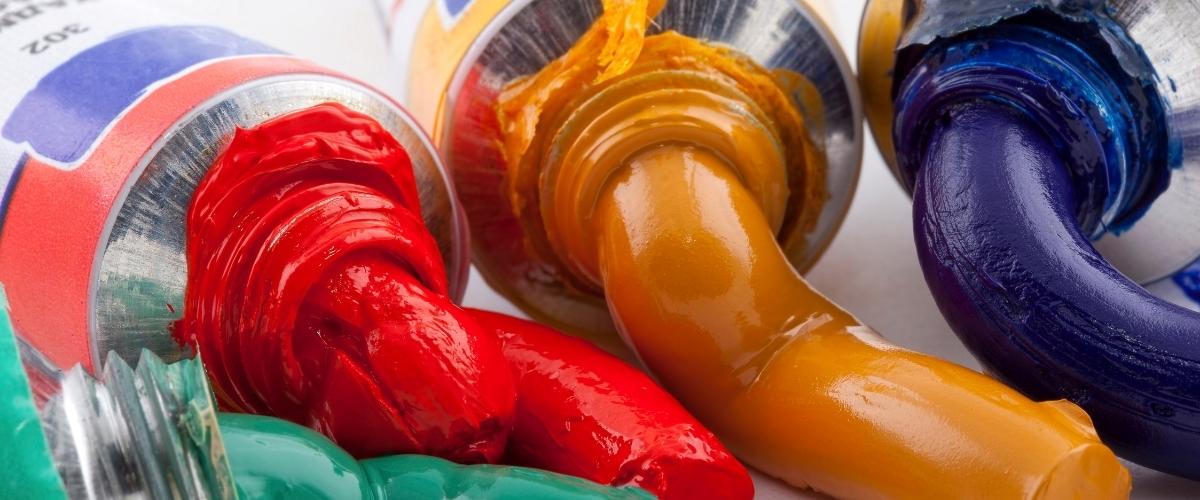
Beginner Oil Painting Kit
There are a few things you’ll need to get started with oil painting:
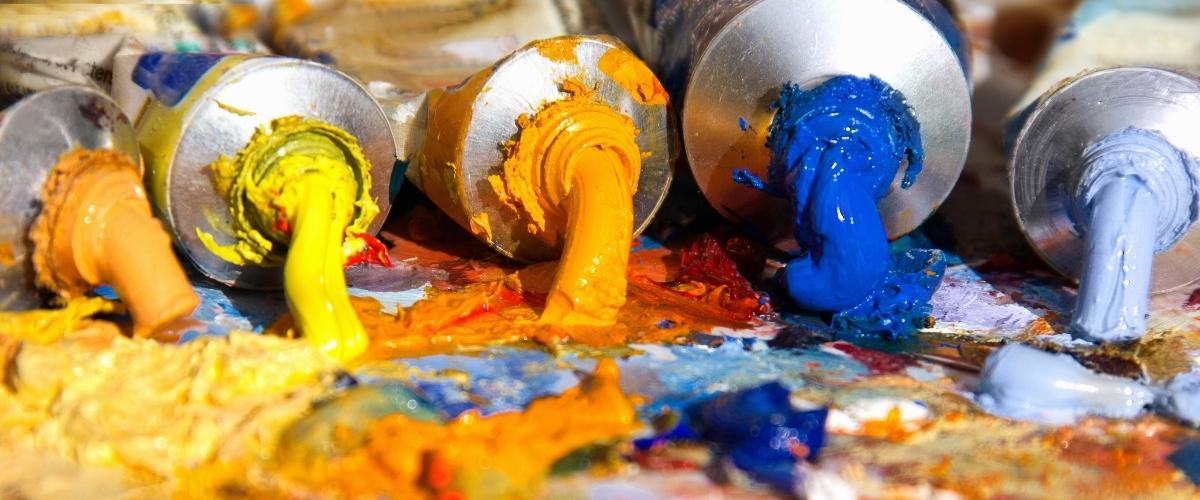
- Oil paints: Start with a basic colour palette if you are just starting out, with black, white, and the primary colours of red, blue and yellow.
- A range of small and large brushes (most oil painters reach for hog bristle)
- An easel. (Easels are typically a far more comfortable way to paint than by painting on a flat surface)
- A mixing palette
- A canvas (If you want to experiment and do some sketching, canvas boards are an option if you want a less expensive alternative to just play around with)
- Linseed oil
- Odourless solvent or turpentine
- Paper towel (to wipe paint from your brush)
Mediums
Oil paints can be more fluid by adding oil or a solvent, however, it’s important to note that this does weaken the paint.
There are a variety of Oil mediums available.
By adding larger amounts of medium to your paint, you will make it more “flat” and transparent, while smaller amounts will impart a more “solid” finish.
- Turpentine
Turpentine is used in the preparation of painting mediums and for cleaning equipment. Pure Gum Turpentine is a natural, double-distilled solvent for oil painting. It can be used to help prepare your art supplies for use or it can be used as a medium. It is a natural material derived from the distillation of sap extracted from the Pinus Massoniana tree. This turpentine is ideal for use when preparing to paint, cleaning art supplies and removing other mediums.
- Odourless solvent
Odourless Solvent is a healthier alternative to gum or mineral turpentine. This is ideal for artists who are sensitive to the odour of turpentine. It is used for cleaning brushes and thinning/ diluting paint as an additive to mediums.
- Linseed oil
Linseed Oil can be added to Oil Paints to increase the flow and transparency of the paint, while also slowing down the drying process. This medium is a mid-viscosity oil paint medium and is a great choice for artists looking to create glazes or to create wet-on-wet techniques. This also heightens the gloss level.
- Liquin
Liquin is a general-purpose semi-gloss medium that speeds drying, improves flow and reduces brush stroke retention. Liquin halves the drying time of conventional oil colour (touch dry in 1-6 days depending on colour & film thickness), and resists yellowing.
- Wax medium
Mix wax with oil paint to impart a lustrous satin finish. Not suitable for heavy impasto, and do not mix more than 25% in with your paint.
- Fat medium
Fat Medium is thicker, oilier and slower drying. To be mixed with oil paint and applied as the final medium in the "fat over lean" sequence.
- Lean medium
Lean medium is a fast-drying liquid medium used to reduce paint viscosity. By altering the body of the paint it creates better glide and spreadability making it ideal for underpainting and thinner paint techniques. Its fast-drying properties make it the perfect medium for layering techniques and fast workability. By increasing paint transparency, it creates a glass-like finish making it ideal for glazing.
- Kaolin
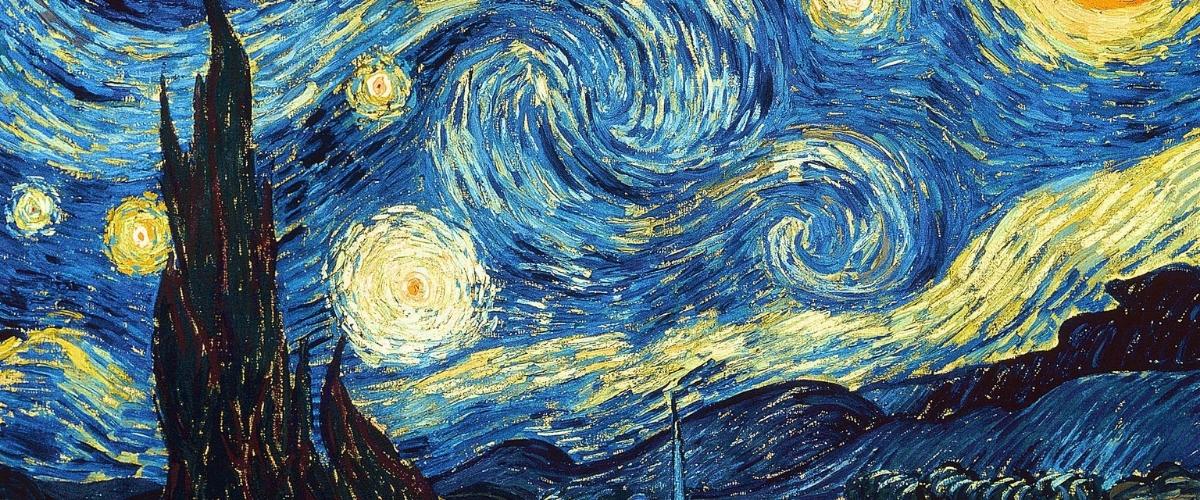
Kaolin is a china clay used for preparing grounds (gesso) and is often added to oil paint to achieve an impasto quality. Impasto is a painting style in which paint is laid on canvas in thick layers creating an almost three-dimensional effect. Take Vincent Van Gogh's very famous 'Starry Night' for example.
- Glazing Gel
Glazing gel is great for creating glazes in oil painting. This thixotropic gel becomes liquid when worked. It is quick-drying, suitable for moderate impasto, and it imparts a satin finish.
.jpg)
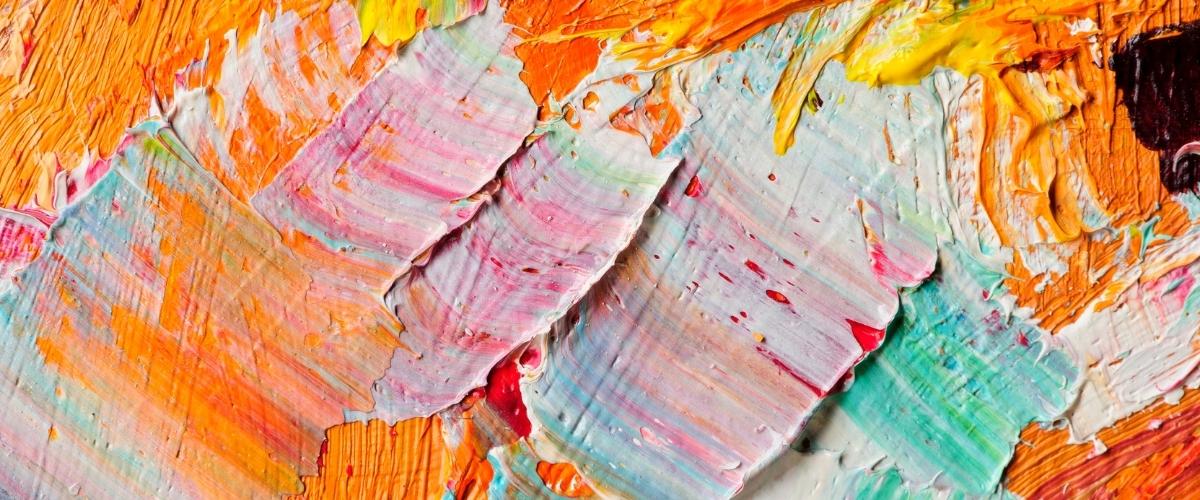
Brushes
Hog bristle brushes are most commonly used in oil painting as animal hair tends to hold its shape far better than synthetic hair. Ideally, you’ll want a good variety of sizes and shapes. If you are starting out, an oil painting brush set may also be a good way to go. You can also use palette knives to create thick textural and abstract marks.
.jpg)
Useful tools
The Mont Marte Stainless Steel Brush Washer is an invaluable accessory for artists and provides a quick and convenient way to clean and dry your brushes. The stainless steel spiral handle suspends brushes in turpentine or water, protecting brush bristles to give them a longer life. This spiral also allows brushes to be suspended in the air to dry when the washer is empty. The mesh screen in the bottom of the washer provides a semi-abrasive surface to clean brushes and also allows sediment to settle in the base so water or turpentine can be reused for cleaning.
A bucket like the Unipro Clear Plastic Bucket and Lid 1.2 litre can be incredibly useful as a brush washer when working with oil paint, and is the perfect size for keeping a handful of brushes in whilst working on a painting. Rinse the brush in turps in the container and then wipe dry with a rag so as to avoid cross-contamination and muddy mixing.
Once you have finished for the day, remove the brushes and wash them thoroughly with Chroma Incredible Brush cleaner, and then put the lid back on the turps-filled bucket to control the turps fumes.
Oil Painting Rules
To avoid your paint cracking, there are a few rules to follow:
Fat over lean
The more oil in the paint, the “fatter” it is and the longer it will take to dry. To avoid cracking, make sure the lower layers of your artwork are leaner and the top layers are oilier.
Thick over thin
Make sure that the top layers of paint are also thicker than the base layers, as thicker paint applications will also take longer to dry than thin ones. You can thin oil paints with odourless solvent or turpentine.
Oil Painting Process
1. Start with a thin layer of paint and solvent/turpentine as an underpainting/ wash of colour.
This thin layer should dry fairly quickly.
2. Then move to the medium of turpentine and linseed oil in a ratio of 2:1
3. Create a rough “sketch” of the composition, with greater detail for the more intricate subject matter.
4. Then, block in the colours and shapes to establish the structure of the painting and colour balance.
This will help you determine the overall composition further.
5. Go in for the finer details, refining each area and the top layer highlights until you are happy with the work.
6. Allow drying for a few days away from direct sunlight.
Techniques
- Blending
Oil paints are naturally easier to blend than water-based paints like acrylics or watercolours. To blend, start by blocking in colours, and use a clean and dry flat brush to drag and blend the regions of paint together, creating a gradient between the colours.
- Layering
Allow layers to dry before adding the next one. Also start with lighter colours, and layer darker shades as you go.
- Impasto
Impasto involves adding thick layers to create a dimensional effect.
- Scumbling
Scumbling involves dragging your dry brush over the canvas to create a broken colour effect.
- Grisaille
Grisaille was a popular Renaissance technique that involves using neutral colours and shades of grey.
- Glazing
Glazing is a technique that uses linseed oil to make the paint more transparent and add thin layers to create beautiful multi-coloured hues.
- Multi-coloured strokes
You can create strokes of multi-coloured paint by leaving different colours of paint unmixed on your brush and gently dragging it across the canvas.
Oil Painting Tips
-
Start with small paintings to experiment with colours and techniques while you’re still learning.
-
Set up a space that is well-ventilated, with all your materials in easy reach
- Prime your canvas with gesso to create a smooth base, and prevent your oil paint from seeping into the surface
-
Clean your brush between colours and once you have finished painting
- Use rags and paper towels to wipe off paint and turpentine
- Oil paints and mediums can be toxic, so be sure to keep them out of reach from kids and pets and dispose of them properly. Avoid getting these on your skin as well.
- Always allow your work to dry once completely away from direct sunlight, as light and heat can cause the pigments to fade and crack.
- To prevent yellowing, you can use different oils to linseed oil, such as Safflower oil, however, these will take slightly longer to dry.
Protecting your oil painting
Once your work is finished, be sure to store your work out of direct sunlight, in a space that is somewhat temperature controlled. Once your work is fully dried, you’ll also want to varnish your work to protect it.
For this you can use:
- Damar varnish
Damar Varnish is a traditional varnish that can be used to finish oil paintings. Damar varnish gives a gloss finish and is applied as a permanent final coat to protect artwork from dust and other harmful residues. Damar can all be used in the process of mixing your own painting mediums.
-
Krylon Spray - Kamar Varnish Spray 311g
Krylon Spray Kamar Varnish can be used to provide a clear, long-lasting protective coat for oil, acrylic and other water-based mediums. The synthetic acrylic formulation of this varnish has been designed to protect like traditional damar varnish without impurities, and therefore will not yellow over time. Dries to touch in 15 minutes and is fully dry in 2 hours. Coverage: 15 – 20 sq ft
.jpg)
As always, art is about enjoyment so get experimenting and have some fun with it. If you create anything from our blog tutorials don’t forget to upload photos of your masterpieces to social media and tag us, we love seeing what you guys create.
If you have any topics you’d like to learn more about drop us a line with some blog suggestions.
Plus, don’t forget you can watch video tutorials on our YouTube channel https://www.youtube.com/user/artshedonline.
Happy creating!
F | @artshedonline I | @artshedonline
Comments (1)
Thank you
By: Heather Barrett on 10 October 2021Very Informative Im going to download this info for later reference. Thank you Heather Barrett