


12 Textures and Techniques Using Watercolour Paint
Author: Andrew Date Posted:18 May 2017
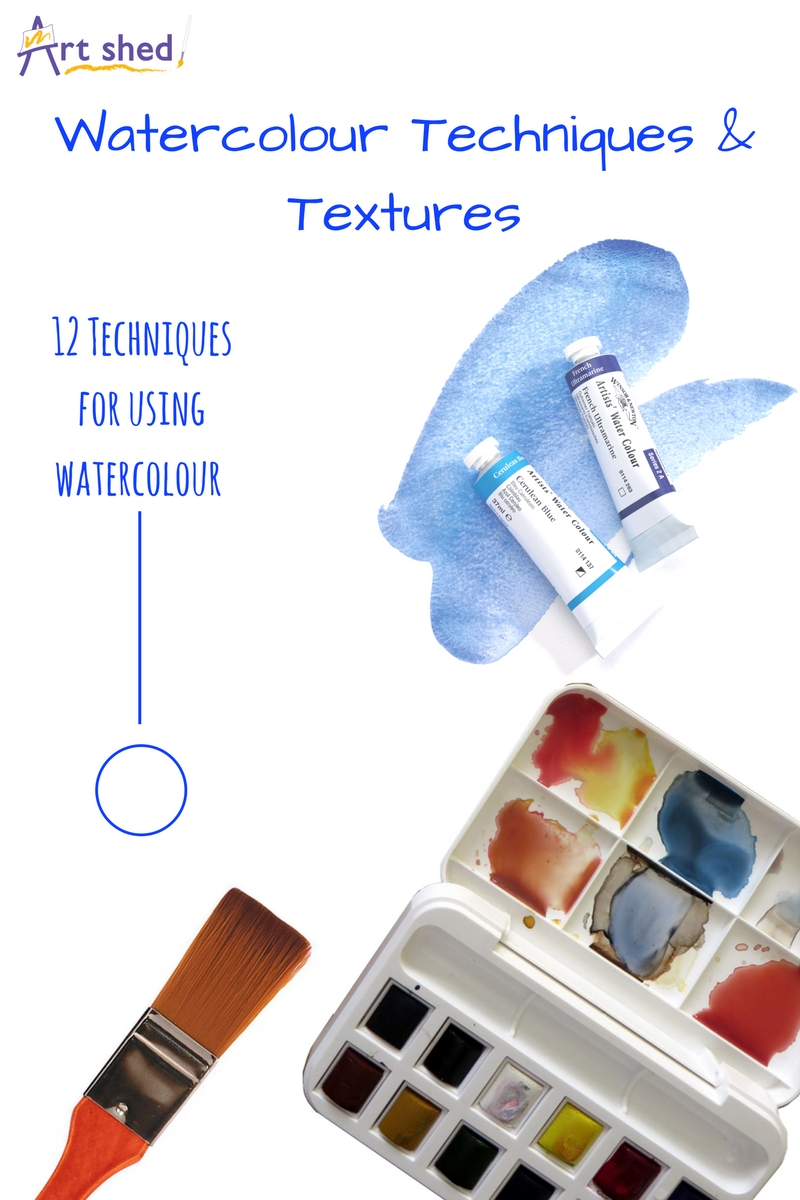
12 Interesting Textures and Techniques Using Watercolour Paint
Before we begin this post, if you haven't already it is probably best to go back and read our previous articles on choosing and preparing watercolour paper! Link to those posts here -> https://www.artshedonline.com.au/art-shed-art-supplies-blog/how-to-stretch-watercolour-paper/
Another thing to remember when working with Watercolours - it is important to remember to work from light to dark, which can take a lot of planning but the results are worth it. This means that anything we're keeping white or light in our painting needs to stay that way for the whole duration of the work. So we are building our values up layer-by-layer to arrive at the effect we want.
If you are trying to create a finished artwork, it can be a good idea to lightly sketch out your composition first before beginning to apply paint to the surface. This can be achieved with a 2H Graphite pencil or lighter. A yellow colour pencil can also be used, but be sure that the pencil isn’t water-soluble, or it will affect the colour of your paints!
Technique 1:
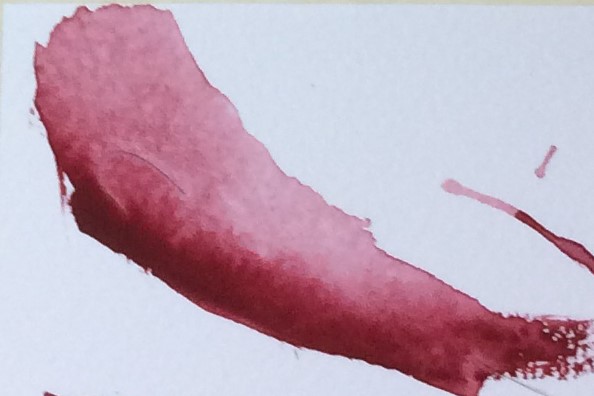
Bleeding Wet on Wet

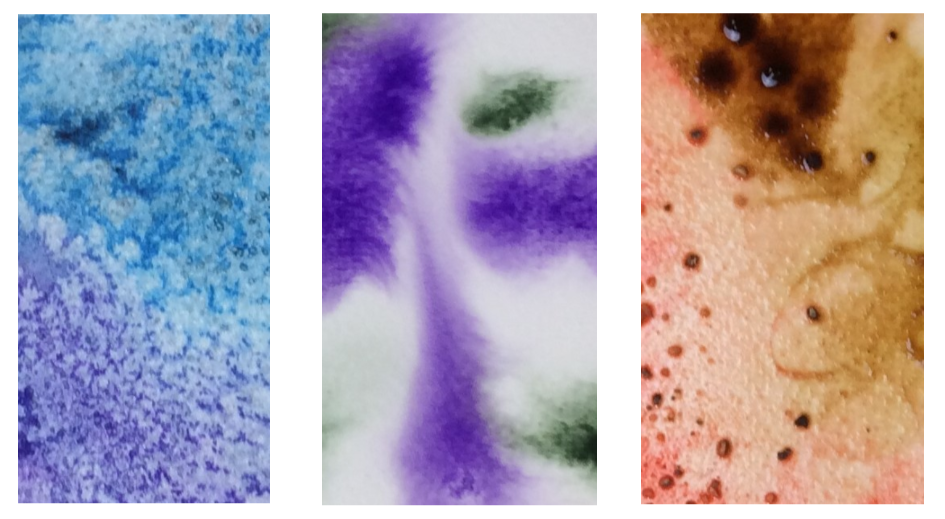
A good way to bleed colours into one another is through "blooming". Take a good amount of water to pigment on your brush and apply it to the paper. When the stroke is still wet, add in another colour with the same amount of water. You can manipulate the colours to where they need to be at this point. Allow this to dry and you'll notice that there are subtle gradients throughout the stroke.
Technique 2
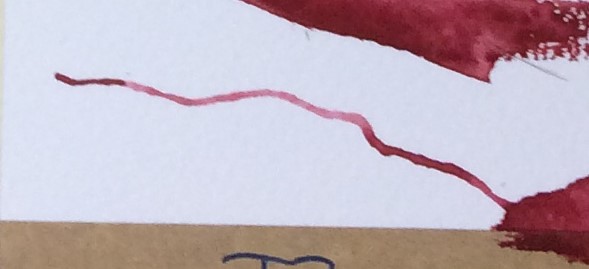
Wet through Dry
When you apply a dry, more saturated stroke of colour to your page, you can pull from that stroke with just water. Apply a stroke using very little water and more pigment. Before the stroke is dry, take a moderately wet brush and pull the colour out from the darker stroke. You can pull the colour quite far depending on how dry that initial stroke is. This technique is very easy with the Water Brush Pens.
Technique 3
Scumbling
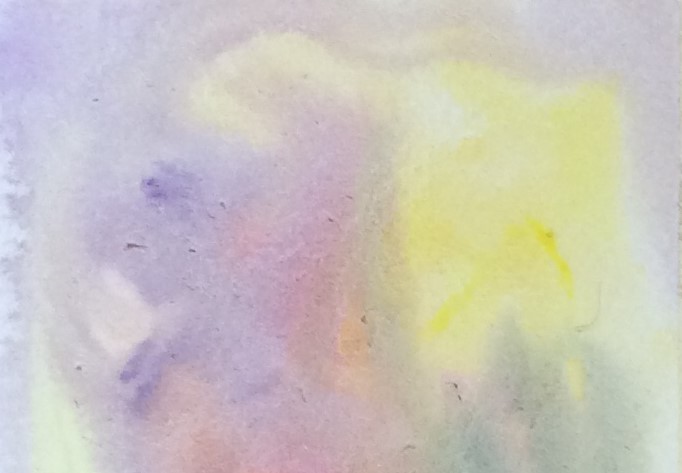
To create a Scumbling effect, add various amounts of water and pigment onto the page, layering and blending the colours in soft, indirect layers to create the hue and look you want. It can be easy to overwork and produce a muddy look, so less is more.
Technique 4
Rub Off
Sometimes you'll need to "erase" your watercolour. While you can't return the paper to 100% white, you can lift away colour to correct a mistake or adjust the lighting in a piece. Once your paint has dried, bush on a swatch of clear water, in the shape you'd like to lift off. Let it set for a moment, then dab away the water with a paper towel. You'll see the colour lift out in the shape you painted in.
Thicker paper can allow for a small amount of rubbing to further remove the pigment from the page, but too much rubbing will result in ‘balling’ of the paper.
Technique 5
Sponge
Mix your pigment in a small dish or tray, dip the sponge into the paint and blot onto your paper. You can alter the wetness of your paint and achieve different effects. A drier look would be suited for plant life or scaly skin while a wet application might be more suited for waterscapes or clouds.
Each type of sponge will give you different results, so try all kinds! (Sea Sponges, Household Sponges, Make-Up Sponges, Car-Wash Sponges.)
Technique 6
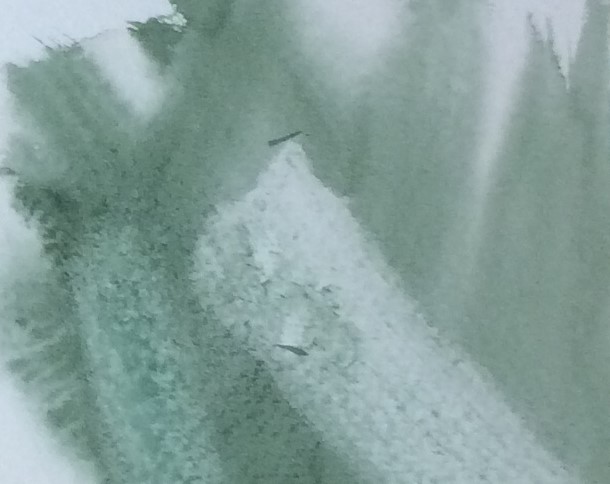
Masking Fluid & Masking Tape

You can use tape or Masking Fluid to mask off areas you'd like to keep clean and white: Masking Tape is good for big bold areas. Masking Fluid is a latex solution that is flexible and water resistant. This watercolour technique is useful for hard edges and extreme highlights. Just lay down the Tape or Fluid where you'd like the paper to stay white. Use a Tape that won't rip your paper, such as Drafting Tape or Painters' Tape. Paint over and around the masked area. Once your paint is dry, remove the Tape slowly and you should have a straight clean line.
To reduce adhesion of the Tape, apply to clothing before applying to the paper.
When using Masking Fluid, allow at least 30 minutes drying time before applying Watercolour Paint. When the painting is finished, peel or rub off the Masking Fluid.
Technique 7
Back of brush & Atomizer
To use the Back of the Brush, apply a large amount of wet watercolour paint to the page. While the paint is still wet, use the back of the brush to push the paint around as much as desired.
Create some fluid pigments on your palette. You can pick up the wash with suction, and then blow the pigment out onto the watercolour paper. Alternatively, with a large amount of wet watercolour paint to the page, use the Atomiser to blow the pigment into random directions.
Technique 8
Scoring/Scratching

With a pin, or needle, score or scratch into the surface of the Watercolour Paper before adding any pigments to the page.
Technique 9
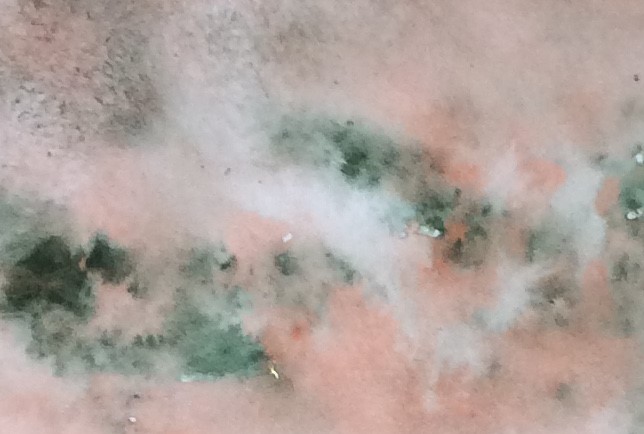
Salt, Bleach, Coffee & Pepper Sprinkle & Dilute
To use the Salt/Pepper/Coffee first choose one or two colours and paint the first rectangle (or area) completely. Then, while the paint is still wet, sprinkle the salt over the top. Let the paint dry completely and then use your fingernail to flake away the salt.
Note: The wetter your painted area, the more your Salt/Pepper/Coffee will spread. Try letting the paint dry partially (enough that water won’t run when you move your paper but still has a sheen) and notice the difference in texture you create
Another way to use the Salt or even bleach, is to dilute some into a cup of water before applying water to the paper. Then while the water is still wet, dab some semi-wet pigment onto the page using a brush.
The coffee can also be used with just water, to create a nice monotone sepia painting. The same can be done with Red Wines!
Technique 10
Tissue Paper

Fill in the area you want textured with a wash of colours. For best results you’ll want the surface to be wet and saturated with colour. Crinkle a piece of tissue paper and place it on top of the wet paint. Being careful to cover the entire area, position the tissue over the wash and gently press down onto the paper with the palms of your hands. Allow to dry slightly (but not completely or the tissue could become glued to the watercolour paper) then carefully lift the tissue from the paper.
Technique 11
Alcohol

Fill in your working area with a watercolour wash. While the paint is still wet, dip a Q-tip into rubbing alcohol and drop it onto the wet paint. For best results let the alcohol drip from the Q-tip (rather than touching the Q-tip to the paper).
Technique 13
Pen & Ink
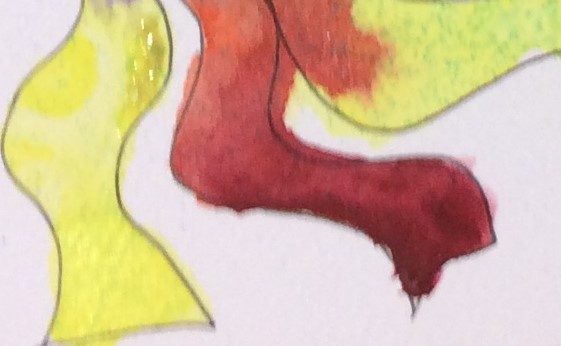
Using a fine-tip permanent pen, draw your design onto the paper. Then, fill in colour as you would a colouring book. It may be helpful to sketch out your design with a light Graphite (2H) or a light coloured colouring pencil (make sure that the coloured pencil is not Water-Soluble, or it will affect the colour of your paints.)
Remember to allow the Pen to dry completely before applying water and colour- even water-proof markers can run a little if not completely dry