Pouring Paint Guide: Techniques, Tools & What to Use
Author: The Art Shed Team Date Posted:26 May 2025
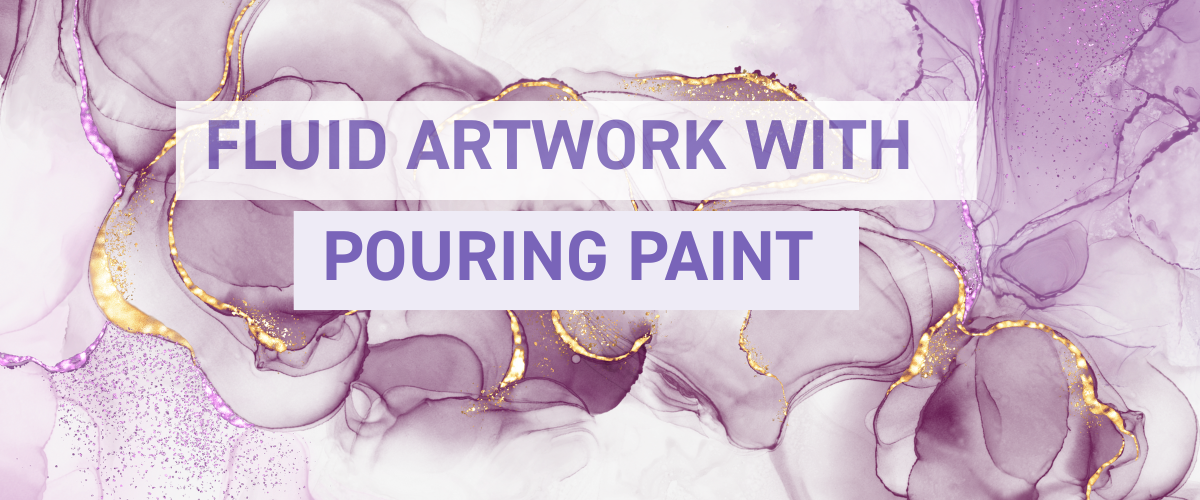
Discover the most popular techniques, fix common mistakes, and learn what makes this messy artform so magical.
Start here with our latest pouring technique demo:
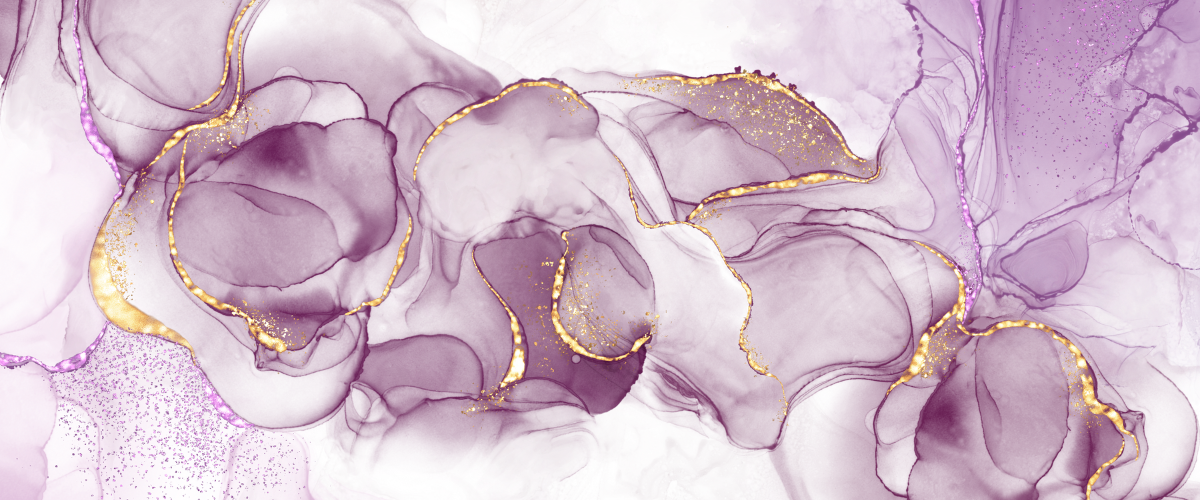
What Is Pouring Paint?
Pouring paint is a fluid art technique where paints are pre-mixed to a honey-like consistency
and then poured, swirled, and tilted across a surface to create mesmerising marbled effects.
No brushes, no rules — just colour, chaos, and creativity.
Our Favourite Pouring Paint Brands
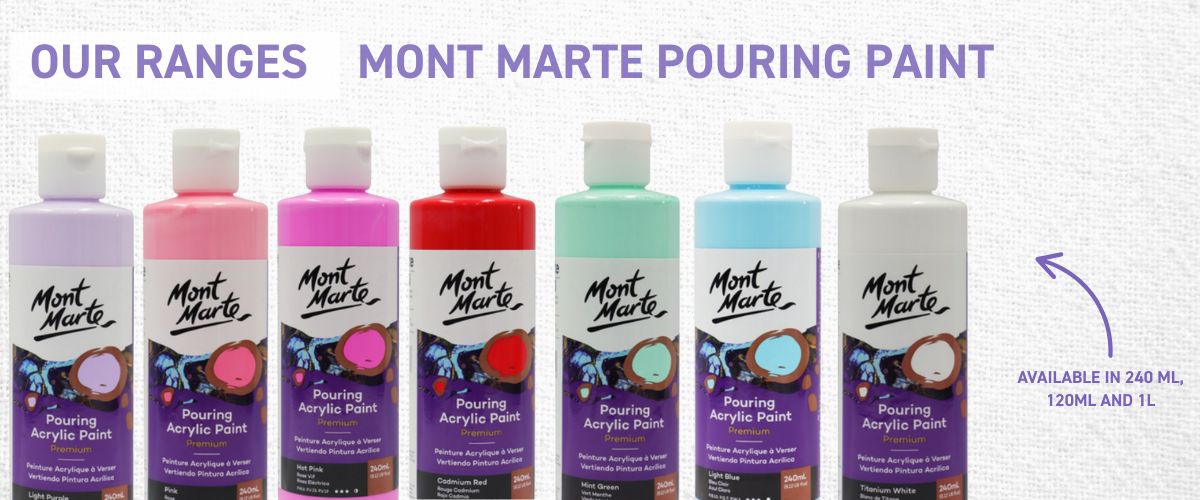
Mont Marte Pouring Paint
Mont Marte's standard Pouring Paint range is a fantastic choice for artists wanting a vibrant, pre-mixed solution without the added cell activator.
These paints are ready to use straight from the bottle, offering a smooth, flowing consistency ideal for beginners and casual creatives.
Pre-mixed — no need for medium
Great colour variety for fun experimentation
Perfect for kids, hobbyists, and relaxed creative sessions
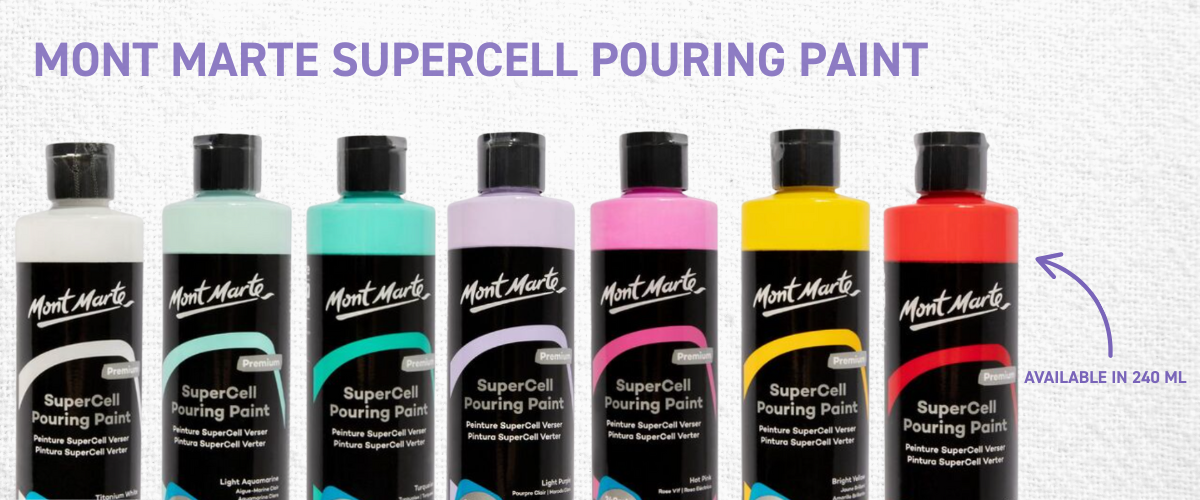
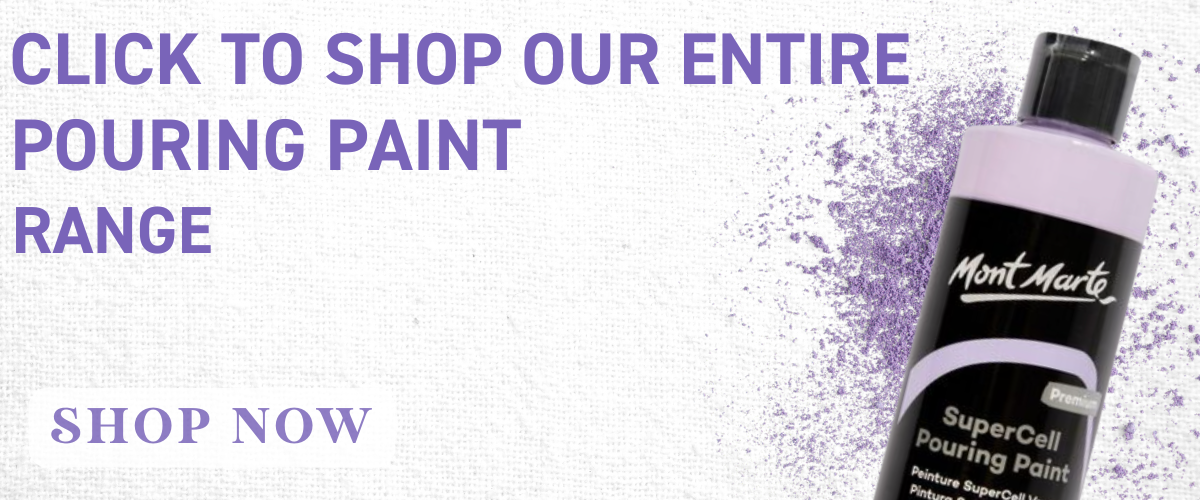
Mont Marte SuperCell Pouring Paint
Mont Marte’s SuperCell range is designed for artists who want instant gratification with their pours.
These paints come pre-mixed and include a built-in cell activator, so you can skip the guesswork and go straight to the fun. They flow smoothly, dry with beautiful vibrancy, and are perfect for beginners and pros alike.
Pre-mixed and ready to pour
No need for additional medium or silicone
Great for creating natural cell structures
Shop Mont Marte SuperCell Pouring Paint
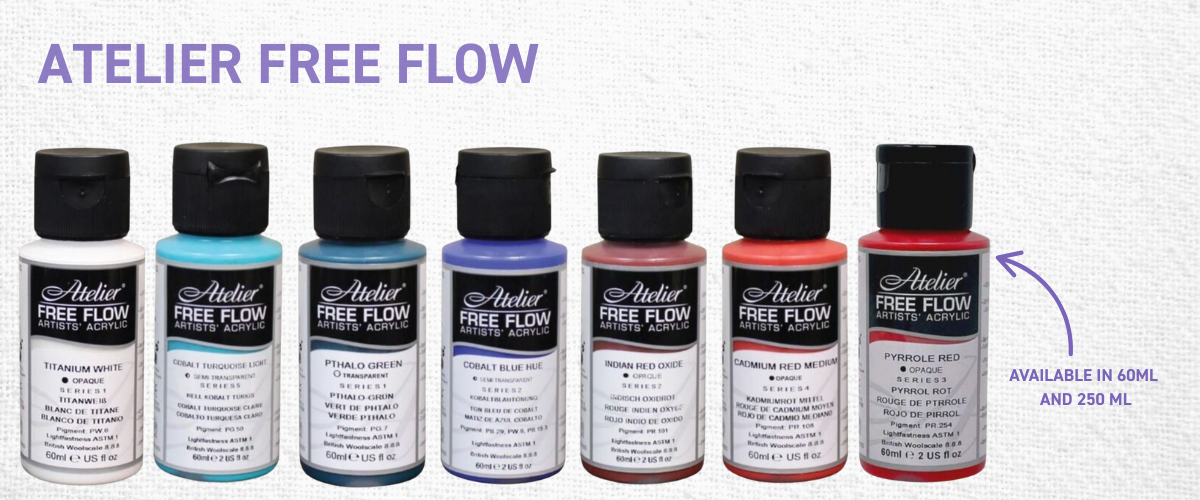
Artelier Flow Formula
Artelier Flow Formula paints are rich in pigment and super smooth —
ideal for artists who like to customise their mix. They’re not pre-mixed, so you’ll want to add your favourite pouring medium to control flow and consistency. Great for intermediate to advanced pourers who want flexibility in their techniques.
Artist-grade quality with strong pigmentation
Perfect for custom mixing
Best paired with a good pouring medium
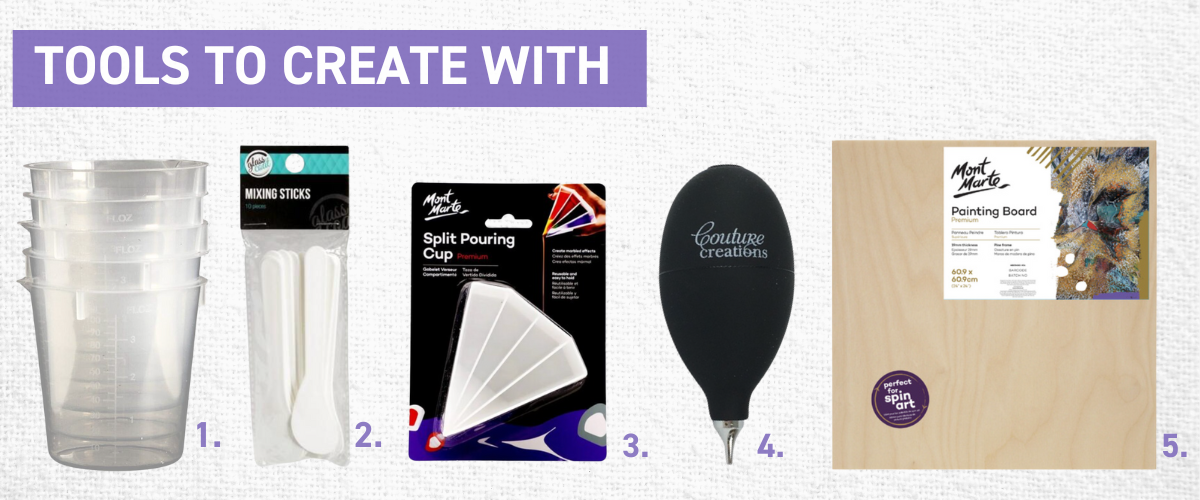
Pouring Essentials
Here’s what you actually need to pull off a smooth, stress-free pour — and yep, we’ve got the goods to get you started:
Measuring Cups for Fluid Art – Because pouring is part art, part science. Measure out your paints accurately for better control and colour balance.
Wooden Sticks & Stir Tools – For mixing your paints like a pro. Simple, sturdy, and oh-so-satisfying to swirl.
Split Pouring Cup – Want multiple colours in one pour without mixing them first? This handy tool gives you layered effects with total control.
Couture Creations Air Puffer Tool – Fancy name, fun tool. This hand-held blower is perfect for detailed swipes and controlled flow without needing a torch or hairdryer.
Canvas & Surfaces – It all starts with the base. Whether you're working with canvas boards or panels, make sure it's level and prepped.
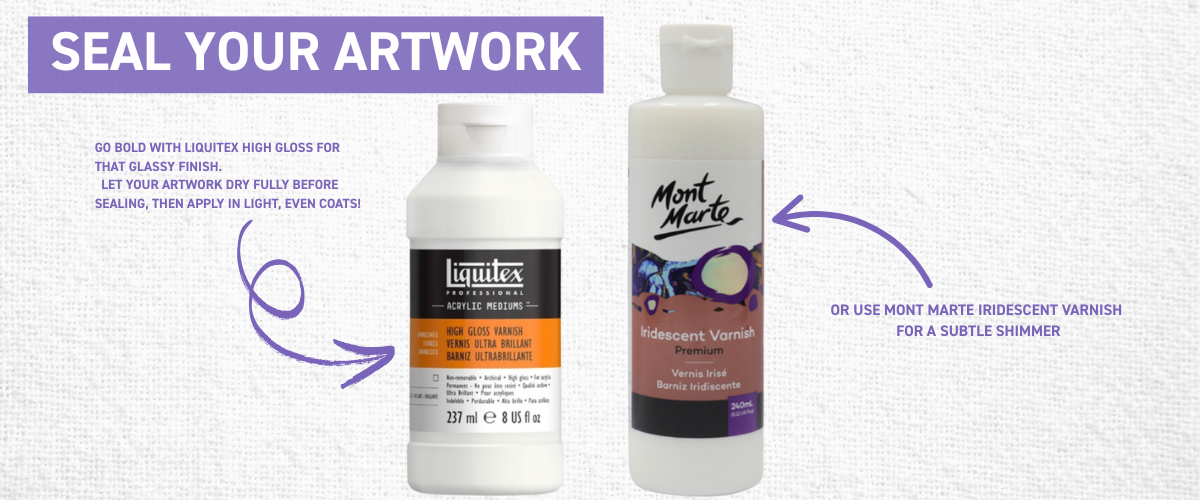
Varnishes to Finish Your Pour
Once your artwork is completely dry, sealing it protects your colours and adds that final professional touch. Here are two of our top picks:
Mont Marte Iridescent Varnish 240ml
Finish: Subtle shimmer with a clear dry-down
Use: Apply lightly in layers for a soft, magical glow
Liquitex High Gloss Varnish 237ml
Finish: Ultra-glossy, resin-like effect
Use: Perfect for bold, vibrant, glassy finishes
ARTSHED Tip: Always let your painting dry flat and fully (24–48 hours) before applying any varnish.
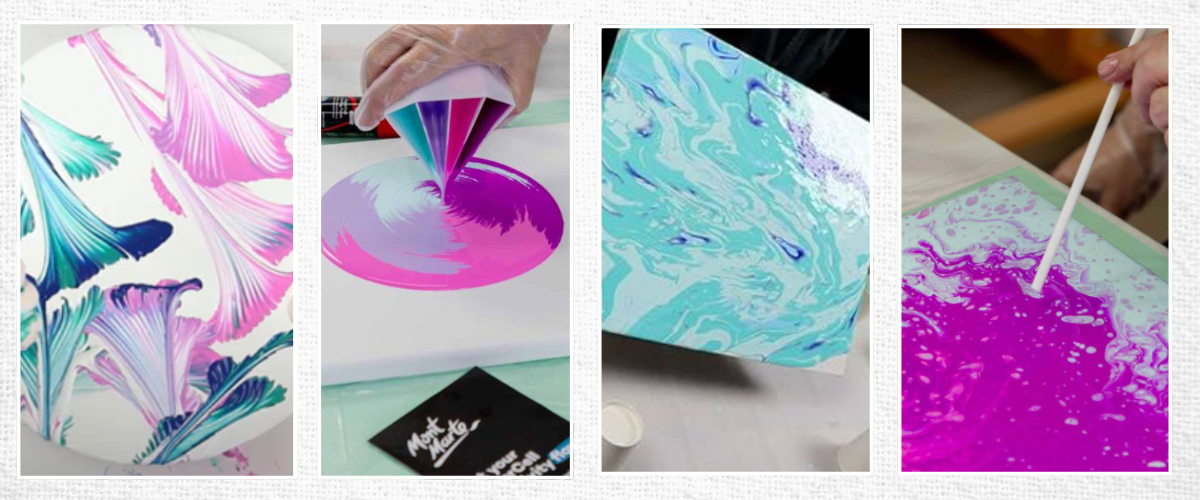
5 Pouring Techniques to Try
Dirty Pour — All your colours in one cup, poured in a single flow.
Flip Cup — Flip your colour-loaded cup onto the canvas, then lift.
Swipe — Drag a tool across your paint to reveal hidden colours and create cells.
Puddle Pour — Pour individual puddles of paint and let them interact.
String Pull — Dip string into paint and drag it across the surface for feathered effects.
The Real Guide: Do’s, Don’ts & Why It Matters
Do’s
Level your canvas
Prep your space (and clothes!)
Let paint rest after mixing
Test your consistency
Use proper pouring mediums
Don’ts
Don’t overmix colours
Don’t torch too close or too soon
Don’t under-pour — coverage is key
Don’t skip drying time
Why It Matters
When something goes wrong with your pour, it’s usually not bad luck — it’s chemistry, timing, or a tool mishap. If your painting starts to crack, it’s likely because your paint layer was too thick or it dried too quickly — a slower dry and thinner application can fix that. Muddy colours? You’ve probably overmixed your palette or accidentally paired colours that clash. Try using a colour wheel and layering more carefully next time.
Not getting those gorgeous cells everyone loves? That could be because you skipped a cell activator, or didn’t torch your pour correctly — Mont Marte SuperCell is a great shortcut if you want reliable results without additives. And if your canvas is starting to warp? It may be soaking up too much moisture. You can avoid this by taping the back of your canvas or switching to sturdier surfaces like MDF boards.
Basically: a few small changes can make a huge difference to your results — and knowing the why behind the mess is the first step to making art that actually behaves.
Meet a Real Fluid Artist
Want to see what this technique looks like in the hands of a pro?
We spotlighted one of our favourite community artists who uses pouring paint as a form of creative therapy.
Try It Yourself!
Pick one technique from the video, give it a red-hot go, and tag us @artshedonline using #PourWithArtShed for a chance to be featured.
We love seeing what you create — from wild galaxy pours to carefully balanced colour compositions. Let’s get painty!